Spring Boot: Running Grafana inside my app
Grafana states as ‘The open platform for beautiful analytics and monitoring’ and ‘The leading open source software for time series analytics’. Grafana is largely used system for visualizing numerical data. It does it’s job in great (and nice) way.
What’s the problem we are trying to solve here?
Reporting and data visualization makes sense in global perspective(big boss view) but also in a scenario of particular user reviewing just his/here own data. By ‘his/here’ data we can imagine own leads, accounts, tasks, issues, projects and many more. For this purpose we would appreciate running Grafana in a mode it knows details about currently logged user into our custom application(e.g. CRM). Great news is that Grafana contains such a mode and allows running in auth.proxy configuration. This simply means that we can include Grafana under our application URL (using reverse like proxy system) and send authentication details to Grafana transparently to display only currently logged user related data.
And here are my notes covering step-by-step process of integrating Grafana with Spring Boot application using ‘reverse proxy’ embedded into Spring Boot project.
What I mean by reverse proxy inside of Spring Boot app?
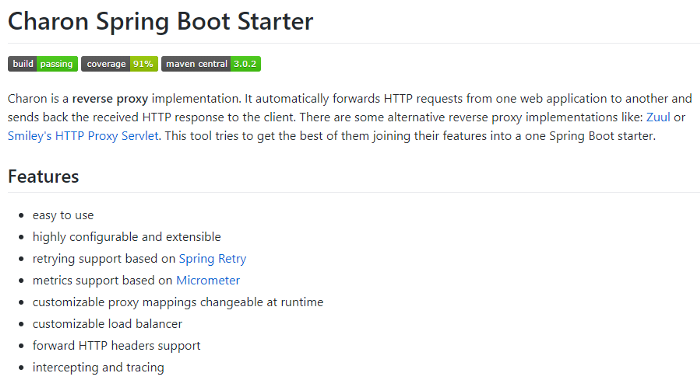
Reverse proxy is usually external process running in front of our application. Commonly used systems are HAproxy, nginx, caddy etc. We talk about reverse proxy inside our application proxying our custom URL to any internal system transparently. For this purpose we can use great project named poeticaly ‘Charon’, specificaly ‘Charon Spring Boot Starter’ .

We can integrate Charon easily into standard Spring Boot Gradle project by adding following line into our gradle config file.
compile('com.github.mkopylec:charon-spring-boot-starter:2.6.0')
Configuration scenario — just 2 steps:
a) configure Spring Boot app with Charon to send all Grafana related requests to underlying Grafana server
b) configure Grafana to understand such proxied requests and accept authentication(user) information being send in request headers
Charon configuration
Configuration below is a part of common Spring Boot configuration file named ‘application-charon.yml’ in YML format. (use ‘spring.profiles.include=charon’ inside application.properties file to include this charon specific configuration).
Configuration below says that reverse proxy should map url ‘/grafana’ to service running to ‘http://localhost:3000’ . (Grafana runs on standard port 3000). Charon reports all mapped URLs during Spring Boot startup process for our review.
charon.mappings:
    -
        name: grafana
        path: /grafana
        destinations: http://localhost:3000
        strip-path: true
        asynchronous: false

  charon.tracing:
        enabled: true
Grafana config file changes
There is a default config file in Grafana conf directory called ‘default.ini’. We need just 2 changes to allow Grafana to work properly with our reverse proxy:
a) replace existing root_url variable with value below
b) enable [auth.proxy] mode by simply setting enable = true root_url = %(protocol)s://%(domain)s:%(http_port)s:/grafana
[auth.proxy]
enabled = true
Thats all, we can run Grafana as it is now.
Reverse Proxy — Forward Request Interceptor
This is the right place to specify username Grafana will use as an authenticated user information. Charon uses concept of forwarded request interceptor. It’s simply Spring component that implements Charons specific interface. By implementing ‘intercept’ method we can add ‘X-WEBAUTH-USER’ request header that contains username information. Common Grafana auth.proxy configuration accepts such header value as username information for its purposes. We can send a dynamic username here based on currently logged-in user in our custom application for example.
@Component
public class CustomForwardedRequestInterceptor implements ForwardedRequestInterceptor {

    @Override
    public void intercept(RequestData data) {
        data.getHeaders().set("X-WEBAUTH-USER", "admin");

    }
}
Now when Grafana running and Spring Boot app started localy, we can open our local http://localhost:8080/grafana URL to see Grafana standard user interface. All running inside our Spring Boot application.
